
A hose splitter valve that becomes hard to turn deserves a controlled diagnosis before anyone applies extra leverage. Resistance can come from deposits, debris, damaged or swollen seals, a bent handle, misalignment or a valve mechanism problem. Shut off the water and relieve pressure before inspecting the part. Record when the stiffness began and whether it affects one branch or every branch; these details help distinguish a new-product issue from a condition that developed outdoors.
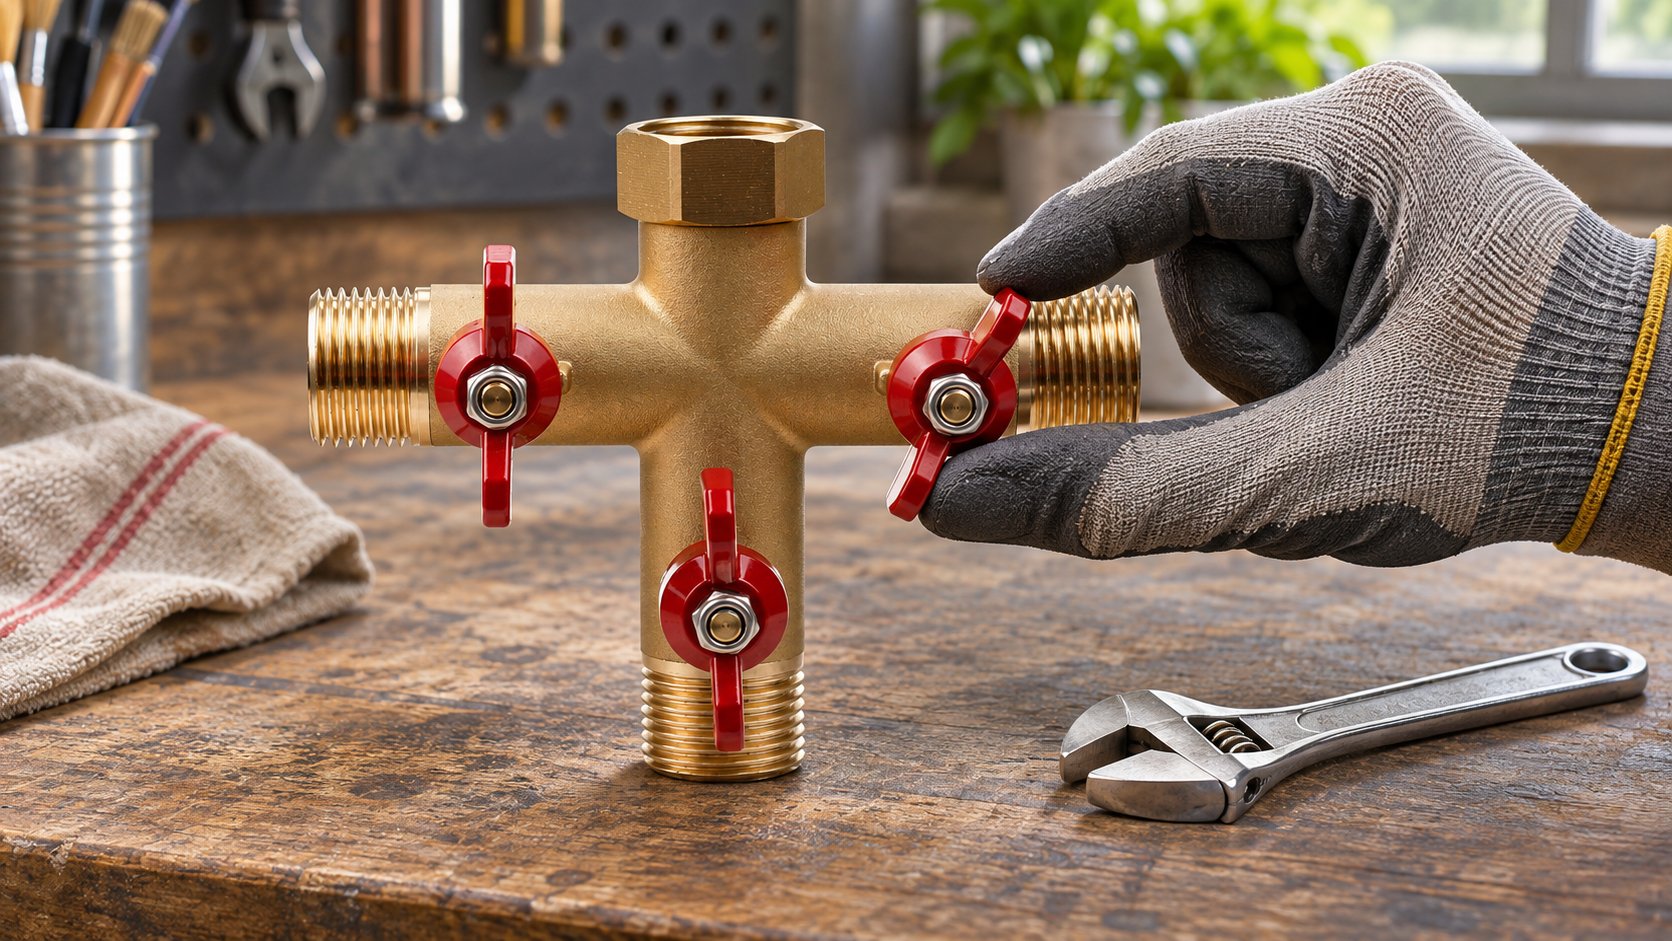
Locate the resistance and its history
Ask whether the valve was stiff on the first installation, became stiff gradually or seized after storage. Record the model, batch, installation date, water source and whether the splitter was exposed to freezing weather. Compare the affected branch with another branch on the same body using normal hand force only. A common change across all valves may point to environmental or installation conditions, while one affected valve deserves a closer part-specific inspection. This is a clue, not a final diagnosis.
Notice where in the handle travel the resistance occurs. A hard stop at one position differs from roughness across the entire movement. Check for an external collision with a wall, timer or neighboring connector before assigning the problem to the internal valve. A handle can feel seized simply because it touches a bulky accessory. Photograph the fully installed assembly and the handle’s position.
| Observation | First check | Record |
|---|---|---|
| Stiff from first use | Assembly, handle interference and approved sample | Batch, new condition and comparison sample |
| Gradual roughness outdoors | Deposits, debris and water conditions | Time in service and maintenance history |
| Sudden stop after impact | Bent handle, stem or body damage | Photos before further movement |
| Leak with stiffness | Stem seal and body condition | First wet point and valve position |
Shut down before inspection
Close the upstream tap or supply, open a downstream branch cautiously to relieve trapped pressure and disconnect accessories that block visibility. Do not dismantle a valve under pressure. Wipe the body and handles dry. Check for cracking, bent metal, damaged threads and mineral deposits around the handle or stem. Follow the exact model’s service instructions; some valves have replaceable parts and others are sealed assemblies.
Move the handle only within its intended travel using the normal grip. Do not attach a pipe, pliers or a longer improvised lever. Extra force can damage a stop, stem or seal and can make a previously minor issue into a leak. If the valve cannot be moved normally, remove the splitter from service and ask the supplier for a model-specific assessment.
When deposits are visible, use only a cleaning method approved for the material and finish. An aggressive chemical or abrasive can damage a seal or a plated surface. A clean exterior does not prove the internal passage is clear; document what was observed and what remains unknown.
Distinguish deposits from structural sticking
Mineral scale or particles can accumulate where water evaporates or passes through a narrow mechanism. The degree depends on water chemistry and use. If an approved cleaning procedure improves operation, record the before-and-after condition and retest for leaks. Do not describe every stiff valve as “just scale.” A damaged stem, distorted seat or failed seal may also make rotation difficult, and forcing it can hide the first evidence of failure.
Compare the suspect sample with an unused sample of the same model and revision. If several new units from one batch show the same stiffness under a common setup, the buyer should ask for factory inspection records and controlled torque measurements. If only field-used units are affected, record installation orientation, weather, water condition and care history. Avoid blaming the user or manufacturing without evidence.
A cracked pressure-containing body, leaking stem or broken handle is a replacement or supplier-review issue. A seal that is not documented as serviceable should not be taken apart by a retailer. Use the leak diagnosis guide to identify the first wet point if stiffness and leakage occur together.
Record operating torque properly
If the purchasing specification includes opening and closing torque, agree on a method before testing. State the torque instrument, attachment point, direction, valve position, inlet pressure state, water temperature if relevant, sample conditioning and number of cycles. Measure at the same point on comparable handles. A long handle changes the hand force needed to create a given torque, so a hand-feel comparison between designs is not a torque measurement.
Record the initial and later values, not just a single pass/fail number. Note any sudden peak, rough section or change near a stop. After the torque check, test closed-outlet leakage and stem leakage under specified conditions. A valve can turn easily while failing to seal, or seal while becoming uncomfortable to operate. Both function and usability belong in the review.
The handle clearance guide covers the installation envelope. This article addresses resistance to turning once the handle has enough room to move.
Define a useful batch acceptance plan
For a bulk purchase, choose representative samples according to the buyer’s agreed sampling plan and identify them by batch and model revision. Check appearance and normal handle travel before water testing. Measure torque where the specification requires it, cycle the valves through the defined range and then inspect shutoff and stem leakage. Record the source condition, instrument and any failed sample. Do not invent a universal acceptable torque or cycle count; these must be tied to the product specification and test method.
Keep one approved sample and its drawing available for comparison. If a supplier changes handle geometry, seal material or valve cartridge, review whether the earlier torque limit and packaging description still apply. For returns, ask customers for a short video showing normal attempted movement without excessive force, plus a photo of the installation and part marking. Preserve suspect samples when a batch trend appears.
Maintenance advice without unsupported promises
Tell users to shut off and drain the assembly according to the product’s instructions when it will be stored in freezing weather. Keep visible connections clean and avoid loading the valve handle with attached hoses. If a valve becomes difficult to turn, stop and inspect rather than forcing it. A seasonal care note can reduce preventable damage, but it should not claim that maintenance eliminates all sticking or extends life by an untested amount.
For service teams, create two decision paths: a documented user-service item with a specified procedure, and a sealed or damaged assembly that requires replacement or supplier review. This avoids shipping an arbitrary lubricant or generic washer for a valve problem they may not solve. The Hengxin splitter range identifies candidate models; request the exact service instructions before publishing repair advice.
Close the complaint with a repeatable decision
After inspection, classify the sample by what can actually be demonstrated: normal travel under the defined check, resistance caused by an external obstruction, a serviceable issue under the maker’s procedure, or a damaged assembly requiring replacement. Record any uncertainty. For example, visible deposits near a stem do not prove that deposits inside the valve caused the torque change. If cleaning was performed, note the method and retest result; if the part was replaced, retain the suspect unit and batch label.
When several customer reports appear, compare them against shipment quantity and use conditions before describing a trend. A cluster from one batch merits supplier review, but a few informal complaints do not establish a failure rate. Ask for factory inspection records and an agreed sampling plan. If the same valve is used in several splitter configurations, check whether the installation angle or handle access differs before pooling the reports.
Update the product instructions only with supported findings. If users commonly apply pliers because a handle is blocked by a wall, an installation-clearance diagram may solve the communication problem. If torque increases after repeated operation on controlled samples, the engineering response is different. The corrective action should match the evidence, and the final record should say which model and revision were checked.
During a controlled retest, check the suspect valve both before and after the body has been mounted to a representative tap. A handle may rub on the wall or on another branch only in the installed position. If it moves freely off the tap, document the installation dimensions before blaming the internal valve. Conversely, if the resistance remains on the bench with accessories removed, ask for the supplier’s service and inspection criteria. Keep water off during the mechanical check unless the agreed procedure specifically requires an operating-pressure condition.
Buyer questions
Should I use a longer tool to turn a stiff splitter valve?
No. Shut off and relieve pressure, check for interference or damage, and follow the model’s service guidance. Extra leverage can damage the valve.
Can scale be the cause?
It can contribute, but debris, seal condition, impact or structural faults are also possible. Record the history and inspect the exact part.
What data helps compare batches?
Keep model and batch IDs, sample condition, torque method and readings, cycle count, leak results and photos of any abnormal part.
For a wholesale quality review, send the model, batch, complaint history and inspection records through Hengxin’s contact page and request a model-specific response.