
A hose splitter handle that is comfortable on a workbench may be impossible to turn once the splitter is screwed onto a tap near a wall. Long levers and butterfly handles need different clearances for the user’s fingers and for the handle’s full travel. A buyer should evaluate the actual splitter, tap, adjacent hoses and any timers as one assembly. Handle length alone does not establish valve torque, seal life or leak resistance; those claims need model-specific tests.
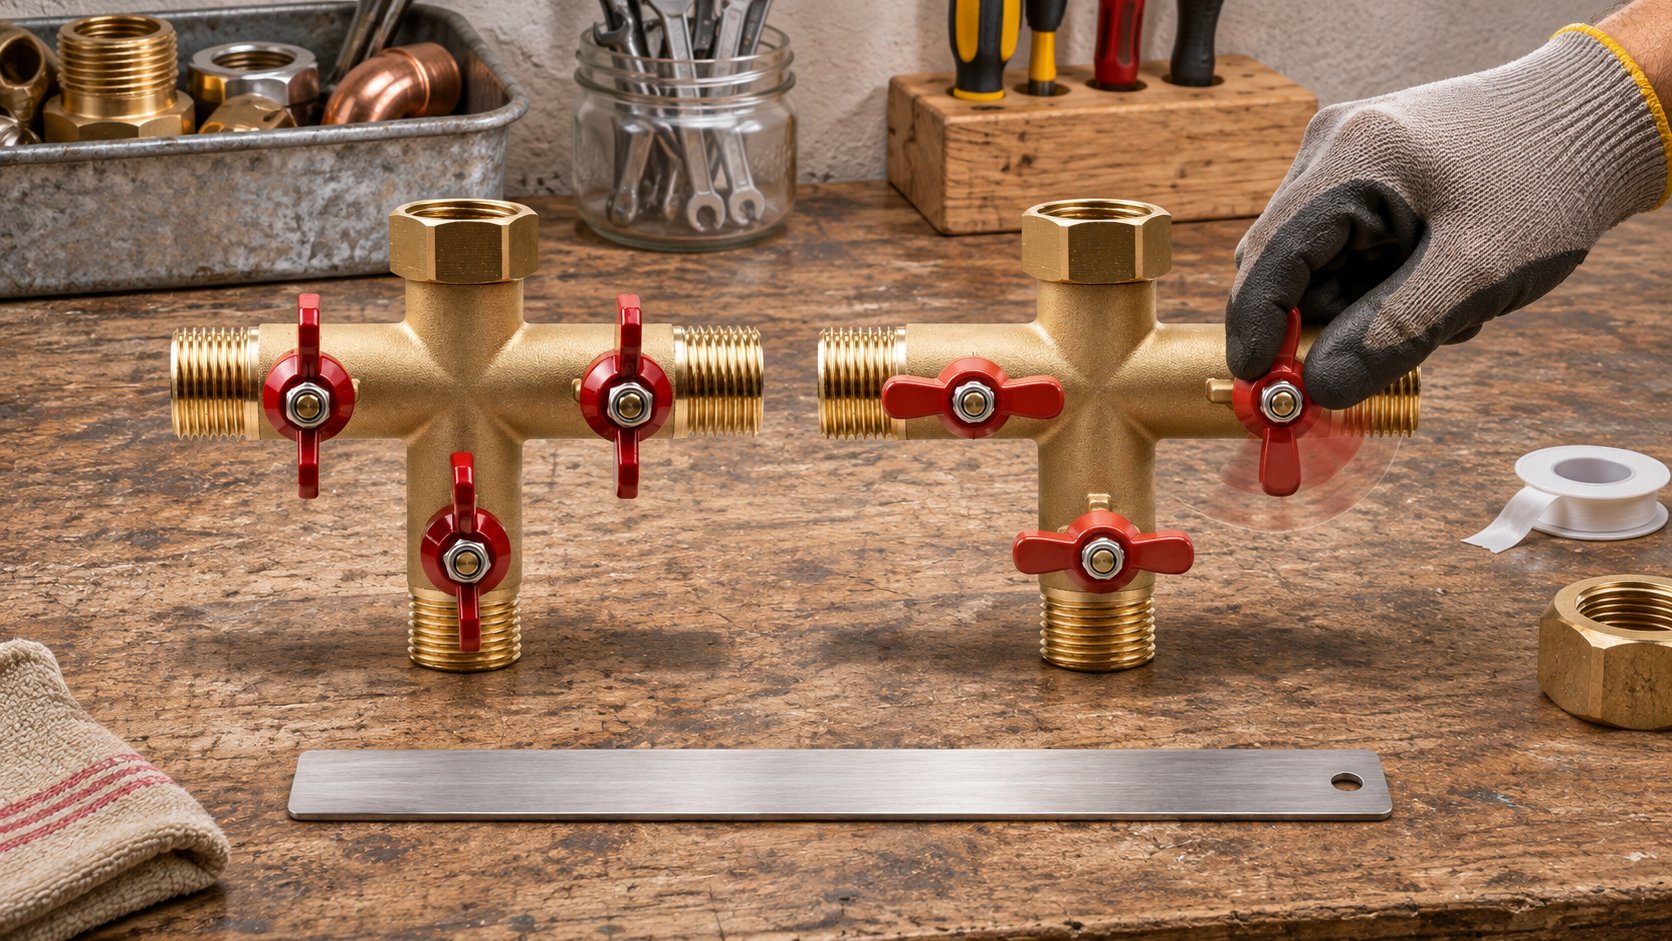
Measure the complete sweep, not only the handle length
Obtain the exact model drawing and identify the valve axis, open and closed stops, handle projection and direction of rotation. Mount a sample on the intended tap and mark the space swept by the handle through its normal travel. Include the width of the operator’s fingers or glove around the grip. Measure the minimum gap to the wall, tap handle, nearby outlet, timer body and attached hose in both end positions and between them. A simple overall width measurement can miss a collision halfway through rotation.
Check every branch independently. On a multi-outlet splitter, turning the middle valve may place a long lever directly over the next branch’s connector. A butterfly handle can need less radial reach but more room around the grip. Both shapes vary among models, so the decision should follow the actual sample rather than a generic statement that one design is always more compact.
| Clearance point | Check on the mounted sample |
|---|---|
| Behind the splitter | Does the handle or hand touch the wall at any position? |
| Beside another outlet | Can both valves move with connectors and hoses installed? |
| Below a timer | Can the valve be reached without moving the timer or battery cover? |
| At the tap handle | Can the user still shut off the source quickly? |
| With gloves | Is the grip accessible without pinching fingers against the body? |
Compare long levers and butterfly handles in use
A longer lever can give the hand more distance from the valve axis, which may make a given resistance feel easier to overcome. That does not prove the valve has lower operating torque. The same length can also increase the chance of striking a wall or accessory and can invite users to apply more force than the stop or seal arrangement should receive. A butterfly grip often offers a compact profile and a different hand position, yet a thick glove may make a small butterfly difficult to grasp. Test the intended users and installation.
For a nursery crew that changes branches many times a day, look at grip comfort, wet-hand control and repeatability after use. For a homeowner with a tap in a narrow recess, wall clearance may be the deciding factor. For a retail kit with two large timers, connector and timer envelopes may dominate handle choice. Keep these use cases separate in the buyer file; one handle shape need not be the answer for every SKU.
Do not infer seal durability from handle length or shape. Seal design, material, surface finish, operating conditions and use history matter. If a supplier claims one handle extends valve life, request the test method, cycles, samples and leak acceptance criteria for the exact models compared. A photograph of a larger handle provides no evidence for a lifetime claim.
Check interference after all accessories are attached
Build the proposed assembly with the real quick connectors, hoses, timers and adapters. A valve that turns freely on a bare splitter can be blocked after a wide connector sleeve is installed. Test the route of a stiff hose at both valve stops; it may press against a lever or pull the splitter away from a square inlet seal. If the connection is mounted high or low, ask a person of typical user height to operate it without moving the tap or pulling on the hose.
Photograph the assembly from the front, side and below with handles fully open, fully closed and at the tightest point. Include a scale reference but do not print invented measurements on an illustration. Record the tap, splitter and accessory model numbers beside the images. This allows a buyer to reproduce the clearance review after a handle color or timer housing changes.
The timer clearance guide addresses the wider timer assembly. For handle selection, keep the test focused on accessible movement of every valve in that completed assembly.
Measure operating effort without forcing the valve
Before testing, follow the product’s installation and operation instructions. A valve should move only through its intended range. If it feels unusually stiff, shut off the source and investigate rather than adding a pipe or other extension to the handle. An improvised extension can overload the stop, stem or tap connection. Document whether resistance occurs from the first use, only under pressure or after outdoor exposure.
Where operating torque matters to procurement, agree on a method that records the instrument, attachment point, opening and closing direction, sample condition and number of cycles. Measure at the same position on comparable samples. A hand impression can help flag a problem, but it is not a reproducible torque value. Repeat the check with gloves only as a usability trial, not as a substitute for the mechanical measurement.
After cycling, inspect the valve stem and outlet for seepage and verify full shutoff under defined conditions. A handle may still rotate after the valve ceases to seal properly. Conversely, slight changes in feel do not prove failure without the leak and function results. Keep the approved sample and record its batch and revision.
Write a useful cycle-operation checklist
For each sample, record the model and batch, handle type, installation orientation, inlet pressure during the test, water condition if relevant, cycle definition and number of cycles. Note the starting effort, any sticking point, handle looseness, stop damage, stem leakage and closed-outlet leakage. Photograph the handle and stem before and after. If acceptance limits are required, agree on them with the supplier before production rather than choosing them after seeing the result.
Keep factory acceptance testing separate from outdoor maintenance observations. A new valve that is stiff before installation may point to assembly or design; a valve that becomes stiff after exposure may involve deposits, debris, weather or use. The evidence and corrective action differ. Record whether the resistance appears with the splitter mounted, whether other branches behave normally and whether a visible obstruction touches the handle. These observations make a later supplier review more useful.
What the buyer should request
Request a drawing with handle envelope and sweep, valve position indicators, inlet and outlet spacing, material and finish, and model-specific operating guidance. Ask for a sample in each proposed handle style. If the product will be sold as a kit, send the drawings of timers and quick connectors that will be attached. Ask the supplier for any existing torque, cycle and leak records tied to the model rather than copying a result from another handle design.
The Hengxin splitter range includes different handle arrangements. A purchasing decision should identify the exact SKU, destination market, mating thread and installed clearance. If the supplier cannot confirm a performance comparison, describe the physical handle and the measured fit without claiming a durability advantage.
Make the packaging photo match the installed product
A close-up of a bare brass splitter can make a long lever look accessible even when the body will sit against a wall. For a retail listing, show at least one image of the actual model mounted to a representative tap with the intended accessories attached. Capture the handle at both end positions and keep the wall gap visible. If a photo uses a different handle revision, update it before packaging approval. The goal is to help the buyer predict hand access, not to make a guarantee for every faucet.
Record which side of the splitter faces the wall and whether the inlet can rotate during installation. The same body turned by a quarter turn may change clearance, but the inlet’s seal and the hose route must still be correct. Do not tell installers to leave a coupling loose to gain handle space. A sound, properly seated water connection takes priority over a convenient handle angle. If the intended layout cannot achieve both, choose another model or accessory arrangement.
For field support, ask for a photo from the user’s normal standing position. That view often reveals a blocked lower valve or an adjacent hose that a product-only image misses. It also helps separate a true hard-to-turn valve from a handle that simply has no travel space.
Buyer questions
Does a longer handle make a splitter valve last longer?
Handle length alone does not establish seal life. Ask for model-specific cycle and leak data under defined operating conditions.
Is a butterfly handle always better near a wall?
No. Measure the full sweep and finger clearance on the mounted sample. A butterfly grip may still hit the wall or another accessory.
What should I send the supplier for a fit review?
Send the tap and accessory drawings, wall clearance, expected hand or glove use, and the splitter models being compared. Include photographs of the installed test assembly.
For wholesale or private-label selection, send those details and expected volume through Hengxin’s contact page. Request samples and drawings before approving handle-access claims in the listing.