
Winterizing a garden hose splitter means removing water from the complete tap-mounted assembly before freezing conditions, not merely turning its handles to the open position. A splitter has an inlet coupling, one or more outlet paths and valve cavities where water can remain. If that water freezes in a confined space, expansion can damage a seal or the pressure-containing body. The safest routine for a removable splitter is to shut off the source, disconnect the hoses and splitter, drain each path, inspect it and store it dry in a protected place.
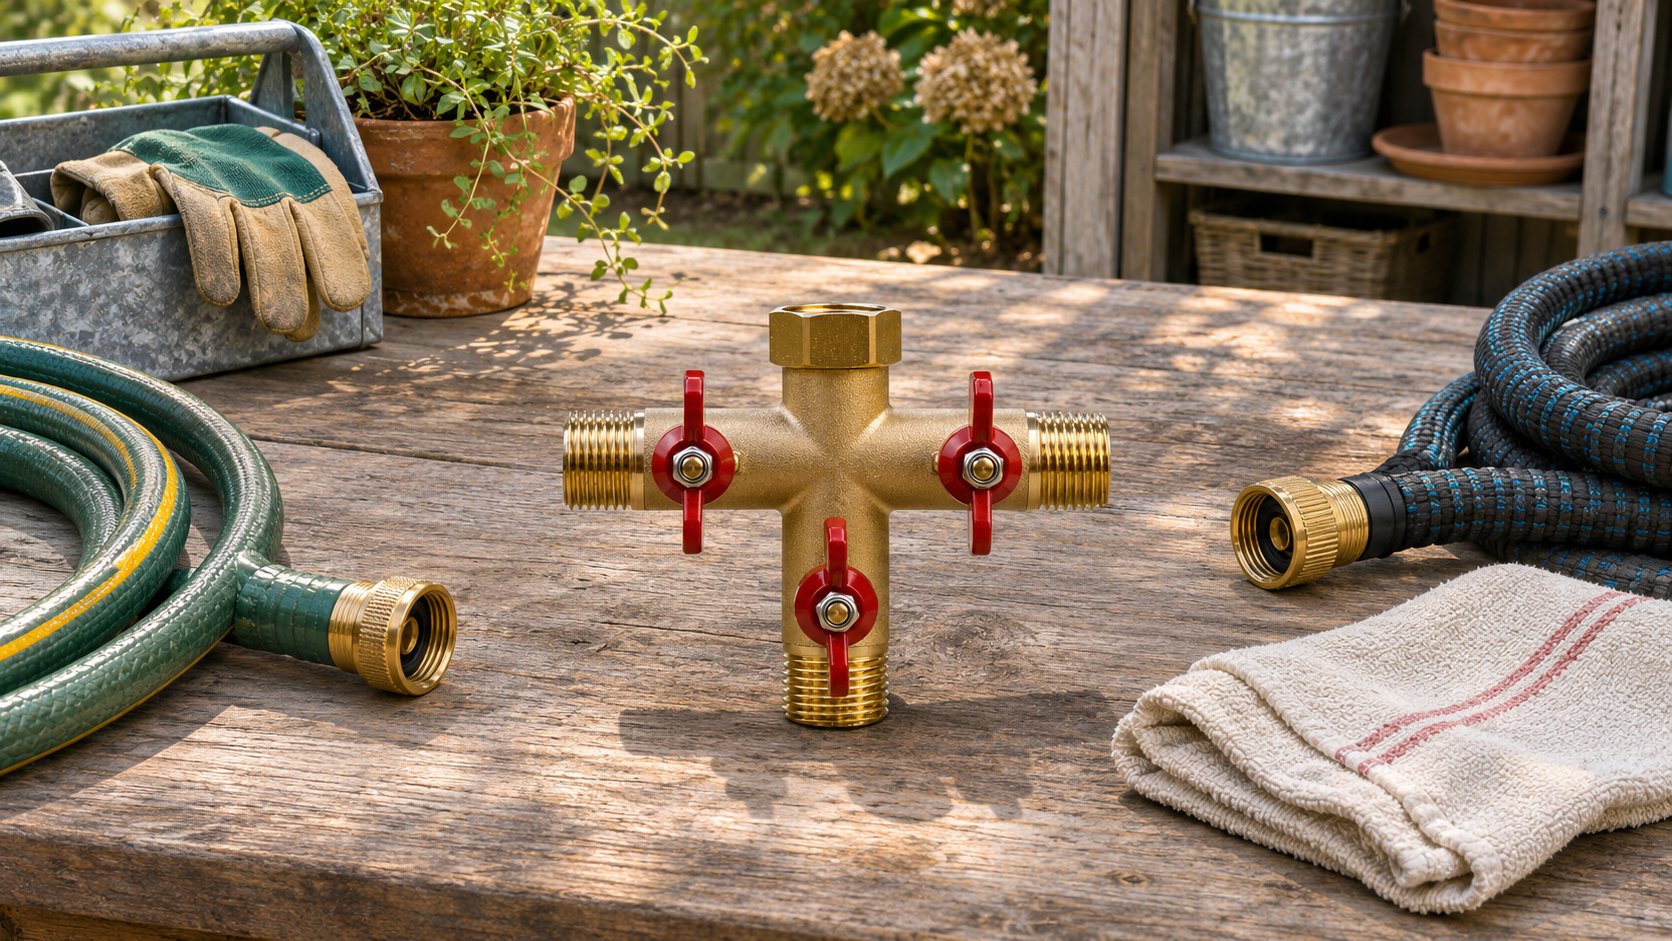
Why a small brass fitting can still freeze
A brass exterior is not a guarantee against freeze damage. The relevant issue is water trapped inside a closed or partly blocked passage. A valve can isolate a small volume from the visible outlet; a hose or timer can keep an outlet from draining freely. When the assembly is mounted horizontally at a faucet, the lowest cavity may retain water even after the exposed hose has emptied. The exact drainage path depends on the model’s internal construction.
Freeze damage may appear as a visible body crack, a distorted valve area, a damaged seal or a leak that begins on the next use. Appearance alone may not show every internal defect. Do not assume that a fitting survived because no crack is visible while it is dry. After storage, inspect and test it under appropriate conditions before returning it to service. A pressure-containing body with a visible split should be removed from use.
Manufacturers of attached equipment often give their own winter-care instructions. Rain Bird’s winterization guidance tells users to remove, drain and store a hose-bib timer before freezing weather. A splitter connected to a timer should be treated as part of the assembly to dismantle and check, while each component follows its maker’s instructions.
A practical shutoff, disconnection and drainage sequence
- Shut off the water source. Close the outdoor tap or the upstream supply as required by the installation. Do not start unscrewing a pressurized connector.
- Relieve pressure. Open a branch valve or downstream nozzle cautiously after the source is isolated, directing residual water safely away from people and electrical equipment.
- Remove attached hoses, timers and adapters. Follow their own care instructions. Keep track of washers and small seals that may remain in a coupling.
- Disconnect the splitter from the tap. Support the body while turning the inlet coupling. Avoid using the valve handles as a lever.
- Drain every path. Orient the splitter so the inlet and each outlet can face downward in turn; move the valves through their normal range after the supply is disconnected.
- Inspect, dry and store. Look for damage at the body, valve stems, threads and sealing faces. Let the part drain and store it where freezing water cannot remain in it.
Do not apply excessive compressed air or heat to a small fitting as a generic winterization method. Such procedures require a model-specific instruction and appropriate equipment. The simple removable-fittings sequence above is designed for a homeowner or retailer kit; an underground irrigation system has a different winterization process that may need a qualified contractor.
Opening both valves is useful but not proof of empty cavities
Opening a splitter valve connects passages that may otherwise be closed, so it can help water leave after the splitter is isolated and removed. It does not prove that every low point or seal pocket has emptied. A valve design may retain a small volume behind a seat, and the orientation of the body changes where water pools. Disconnecting the fitting and rotating it through several positions gives gravity a better chance to drain accessible paths.
Ask for the product drawing if the winter-care instruction is being written for a private-label line. The drawing should show the inlet, outlet and valve passages well enough to identify possible trapped volumes. A generic illustration of a two-way splitter may not represent a four-way model or a design with a swivel inlet. Where the supplier provides a model-specific drainage method, use that method in the packaging copy.
Do not describe a splitter as “freeze-proof” solely because it is made of brass or has open valve handles. A tested freeze-resistance claim would need defined conditions, samples and acceptance criteria. Without those records, advise removal and protected storage before freezing temperatures.
Inspect for a crack, leak or worn seal before reuse
Before installing the splitter in spring, clean and examine the inlet coupling and each outlet. Check that washers and O-rings used by the particular model or attached connector are present, seated and undamaged. Look for stripped threads, distorted sealing faces, a split in the body and unusual resistance when a valve is moved. A missing washer can cause a tap-side drip that is unrelated to freezing; a cracked body cannot be repaired by replacing a washer.
| Observation after winter | First check | Action |
|---|---|---|
| Drip at the tap-side inlet | Washer, flat sealing face, alignment and thread match | Replace a damaged compatible washer or seek review if the metal face is damaged. |
| Drip at one outlet | Attached hose coupling, washer or quick-connect seal | Test a known compatible accessory before assigning cause to the splitter. |
| Leak around a valve stem | Model-specific seal or valve assembly | Follow the maker’s service guidance; do not dismantle under pressure. |
| Visible body crack or split | Pressure-containing body | Remove the part from service and document it for supplier review. |
Reinstall the inspected assembly squarely, without forcing a mismatched connection. Open the water slowly and look at the inlet, outlets and valve areas first with branch valves closed and then with each branch in use. This staged check helps locate a leak. If a crack or unexpected deformation appears, shut off the source and replace the part. The splitter leak diagnosis guide covers the joint-by-joint inspection in more detail.
Write a seasonal warning that users can act on
Retail packaging should state the action and timing plainly. A useful model-specific warning is: “Before freezing conditions, shut off the water, relieve pressure, remove the splitter and connected hose-end accessories, drain all passages and store in a protected place. Inspect for damage before reuse.” Verify the wording against the actual model instructions and local requirements. Do not imply that a particular storage temperature or drainage method has been tested if it has not.
Place the warning where a purchaser will see it, such as the installation or care panel, not only in a separate web FAQ. A small diagram can show the tap, splitter and accessories being disconnected. If the model has a swivel inlet or unusual outlet orientation, show the actual fitting. For multilingual packaging, have the translated warning checked by someone who understands the installation sequence; a mistranslated “open valve” instruction can be mistaken for leaving the assembly attached under supply pressure.
For a distributor, include a seasonal support note on how to distinguish a washer leak from a visibly cracked body. Ask customers to shut off the source and send photographs of the whole installation and first wet location. Avoid diagnosing the cause from one image or assigning every winter leak to misuse without inspection.
What an OEM buyer should request
Ask for the exact splitter model and revision, a drawing of its internal water path, connection and seal details, and the manufacturer’s storage and drainage instruction. If a supplier offers freeze-related performance claims, request the test method, sample count, temperatures, cycles and failure criteria. A competitor listing or an unqualified statement that “brass lasts in winter” is not technical evidence for the item being purchased.
Keep the approved warning tied to the approved sample. A change in the valve cartridge, inlet swivel or branch layout may change where water can remain. Review packaging after such changes. The Hengxin splitter category shows layout options; ask for model-specific drawings before deciding whether one winter-care illustration can serve a whole range.
Where a range includes two-way and multi-way bodies, check each outlet independently during the spring leak test. Document the valve position and first wet point for any problem. A claim that one sample drained successfully should stay tied to its model, orientation and drainage procedure.
Winterizing questions
Can I leave a brass hose splitter on the outdoor tap in winter?
Do not assume the metal makes it safe. For a removable splitter, shut off the water, disconnect it, drain the passages and store it in a protected place before freezing conditions unless the exact model’s instructions say otherwise.
Is opening both valves enough to drain a splitter?
No. It may help connect passages, but water can remain in low points or internal cavities. Disconnect the fitting and rotate it to drain the inlet and each outlet according to the product instructions.
Can a freeze-cracked splitter be fixed with a new washer?
A washer can address a leak at a sound washer-sealed joint. It cannot restore a cracked pressure-containing body. Remove the cracked part from use and document it for supplier review or replacement.
For a retail or private-label splitter range, send the target markets, models, outlet layouts, packaging requirements and expected volume through Hengxin’s contact page. Request drawings and model-specific care guidance before approving a seasonal warning or freeze-resistance claim.