
Outlet spacing on a hose splitter matters when two bulky quick connectors sit side by side. The threads may both fit while the locking sleeves collide, making it impossible to release one connector without removing the other. A buyer should measure the connector’s outside diameter, the sleeve travel and the room needed by a hand, then test those parts on the exact splitter. An outlet center distance alone is useful but does not prove that the assembled kit is serviceable.
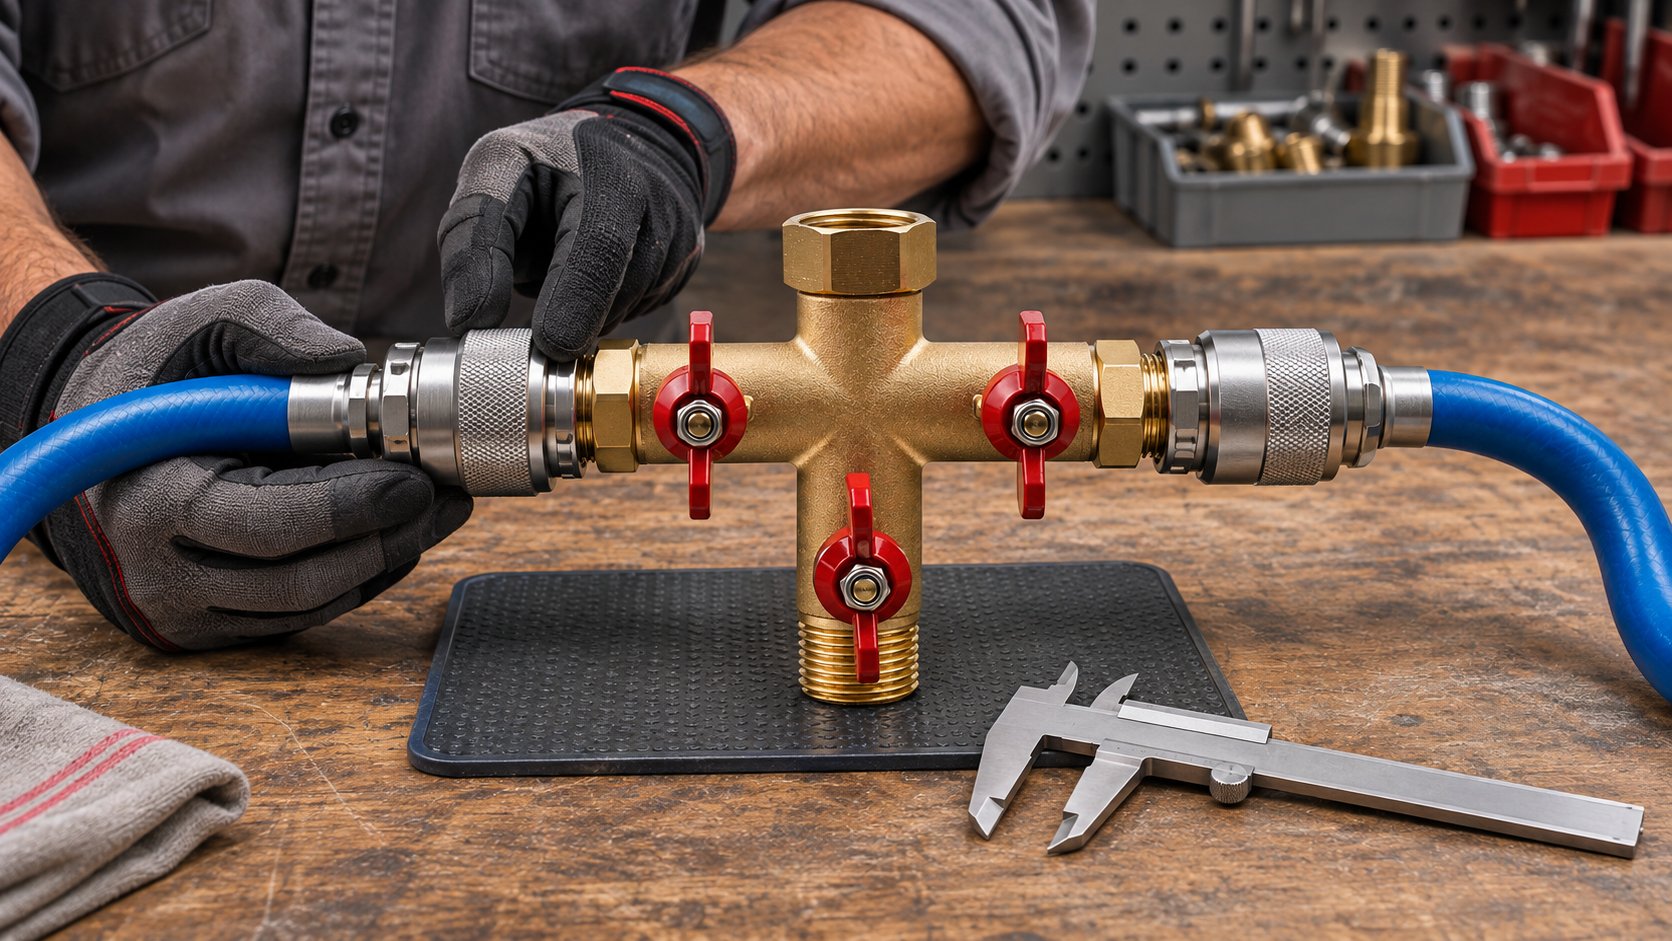
Define the installed envelope
Start with a drawing of the splitter showing outlet centerlines, branch angles, valve handles and distance to the tap and wall. For each quick connector, record the maximum outside diameter of the socket, the grip or locking sleeve diameter, plug projection and the axial distance the sleeve must move to release. Include a timer or adapter if one will be installed between the outlet and connector. A mating thread size says little about the connector’s external envelope.
Measure the minimum clear gap between adjacent installed connectors at their closest point. Then pull the release sleeve through its full travel while the neighboring connector remains attached. A gap that looks adequate in a front photo may disappear when the sleeve moves backward toward a valve handle. Check the removal path for the plug and hose too; the connector may unlock but still be trapped by the next branch.
| Dimension or action | Why it matters |
|---|---|
| Outlet center-to-center distance | Starting geometry for neighboring fittings |
| Maximum connector body diameter | Defines the tightest side clearance |
| Release-sleeve stroke | Shows required movement during disconnection |
| Finger or glove access | Determines whether a user can operate the sleeve |
| Hose departure direction | Reveals bends and interference after connection |
Test one-handed operation honestly
Some products are marketed as one-hand quick connections. Build the full tap-mounted kit and ask the intended user to connect and release each branch while the other branches remain installed. Do not hold the neighboring connector aside or remove a timer during the test. Record whether the user can grip the sleeve, release the plug and move the hose away without striking another branch. Repeat with wet hands or gloves if those conditions are part of the use case.
A part that can be operated with two hands may still suit a low-frequency irrigation installation, but the listing should not promise one-hand service without a representative demonstration. If a user must twist a hose to clear the next connector, note the resulting load on the splitter and tap. The approved assembly photograph should show all accessories attached, not just the bare splitter.
Compare fixed and rotating branch layouts
A fixed outlet has a defined orientation relative to the body. A rotating branch may let a connector be turned away from its neighbor, depending on the model. Confirm what rotates, its allowed range and how its seal is maintained. Rotation can improve access in one installation while causing a hose to point into a wall in another. Do not claim a swivel solves every spacing problem from a photograph.
Test the assembly with branches in the orientations the user is likely to choose. Observe whether the quick connector sleeve remains accessible and whether hoses can leave without a sharp bend. Where a swivel joint is involved, check for leakage at that joint after positioning. A connector may be physically reachable but place an unacceptable side load on a rotating seal.
O Hengxin swivel-inlet comparison concerns the tap-side inlet, which is a different rotating point. For outlet spacing, request the actual branch drawing and sample rather than assuming an inlet swivel changes the outlet center distance.
Account for the hose after connection
Attach the intended hose length and let it fall in its natural route. Check whether the first bend begins immediately at a connector and whether one hose presses a neighboring release sleeve. Record the hose’s allowed bend behavior from its maker; do not invent a universal minimum bend radius for all garden hoses. A stiff hose can cause a connector to lean, reducing clearance and disturbing a seal that looked fine on an empty bench.
If the kit includes a water-stop connector, its internal valve and plug profile need compatibility testing separately from external spacing. The open-flow versus water-stop guide describes that function. A physically spacious arrangement can still leak if the plug and socket do not mate correctly.
Make a reproducible spacing drawing
Use a scale photograph or drawing of the exact splitter model with two approved connectors installed. Mark the outlet centerlines and the connector body’s largest diameter, and show the sleeve in both resting and pulled-back positions. If dimensions are not measured, leave them blank and request a drawing; do not place invented numbers on a generated image. State the connector model and revision so the diagram is not mistaken for universal compatibility.
For an OEM kit, keep the technical drawing, sample and assembly video together. Record tap location, wall clearance and which neighboring outlets are occupied. If the quick-connector supplier changes sleeve shape, repeat the access trial even if its thread and plug remain the same. Packaging that says “fits all connectors” is not supported by one successful assembly.
Build the compatibility table
Create a row for each planned splitter and connector pair. Include splitter model, outlet layout, quick-connector model, external diameter, sleeve stroke, hose model and installed result. Mark separate outcomes for threading, water sealing, release access and hose route. A single yes/no cell conceals which property passed. Add date, sample revision and tester so a distributor can maintain the table after component substitutions.
For a bulk order, request the Hengxin splitter drawing and the quick-connector drawing before approving a combined kit. Test a physical sample with all intended branches occupied. If clearances are marginal, consider a different outlet layout or a smaller connector rather than forcing parts together.
Check the inlet and wall clearance as well
Outlet spacing is only one part of the installed envelope. A splitter with comfortable center distance on a workbench may sit too close to a wall for a user to pull both sleeves. Measure the distance from the outlet faces to the wall, nearby tap handle and any cabinet edge. If the inlet has a swivel, determine whether rotating the entire body changes access without disturbing the inlet seal. Do not leave an inlet coupling partly tightened merely to point the outlets into free space.
Document whether the user is expected to connect a hose before or after mounting the splitter. A large sleeve may be easy to grip before the body is attached but impossible to release once the wall tap is occupied. Test both assembly and service sequence. If a timer or filter is upstream of a connector, include its housing and maintenance cover. In a retail kit, the instruction diagram should show the actual order and orientation that passed the access test.
Retest after a component substitution
A supplier may change a quick connector’s outer sleeve while leaving its threaded inlet and internal plug profile unchanged. That can make the new version fail a clearance check that the earlier version passed. The same applies if a splitter handle is lengthened or an outlet angle changes. Add revision fields to the compatibility table and require a new physical fit check when any envelope dimension changes. A water leak test alone will not reveal a sleeve that cannot be pulled back by hand.
For receiving inspection, compare a production sample with the approved assembly photo and drawing. Measure the largest sleeve diameter and outlet center distance, then perform a normal release action with both neighboring ports occupied. Record the batch and results. This creates a practical acceptance check without inventing universal millimeter limits. The required clearance belongs to the actual connector pair, operator and installation.
Include a leak observation after repeated connection and release, because a user may push a crowded plug at an angle. If the assembly starts to seep, inspect the plug profile and O-ring rather than simply increasing outlet spacing. The fit and sealing checks answer different questions. Record whether the connector locks positively and can be released without disturbing the neighboring branch. A kit that passes a bare-thread check but fails normal release should be revised before it is marketed as a quick-change system.
Retain the rejected sample and photographs so the revised combination can be compared under identical conditions.
Questions buyers ask
Is outlet center spacing enough to prove a quick connector will fit?
No. Include connector body diameter, release-sleeve travel, hand access and the path of the attached hose.
Can a rotating branch solve a collision?
It may improve the orientation on a suitable model, but the swivel range, seal and nearby wall still need testing on the actual assembly.
What should a compatibility table record?
Record the exact splitter and connector models, test setup, thread fit, leak result, release access and hose route separately.
Send drawings of the splitter, quick connectors and tap area, plus expected order quantity, through Hengxin’s contact page for a sample-based fit review.